Axxent
Metron Expander
1Introduction
Congratulations on your purchase of WMD's Axxent expander for Metron. Axxent extends the functionality of Metron by adding one additional “accent” gate signal to every Metron track. This additional signal is great for making sequences even more expressive by triggering additional envelopes, slews, drum accents, and other gate triggered functions.
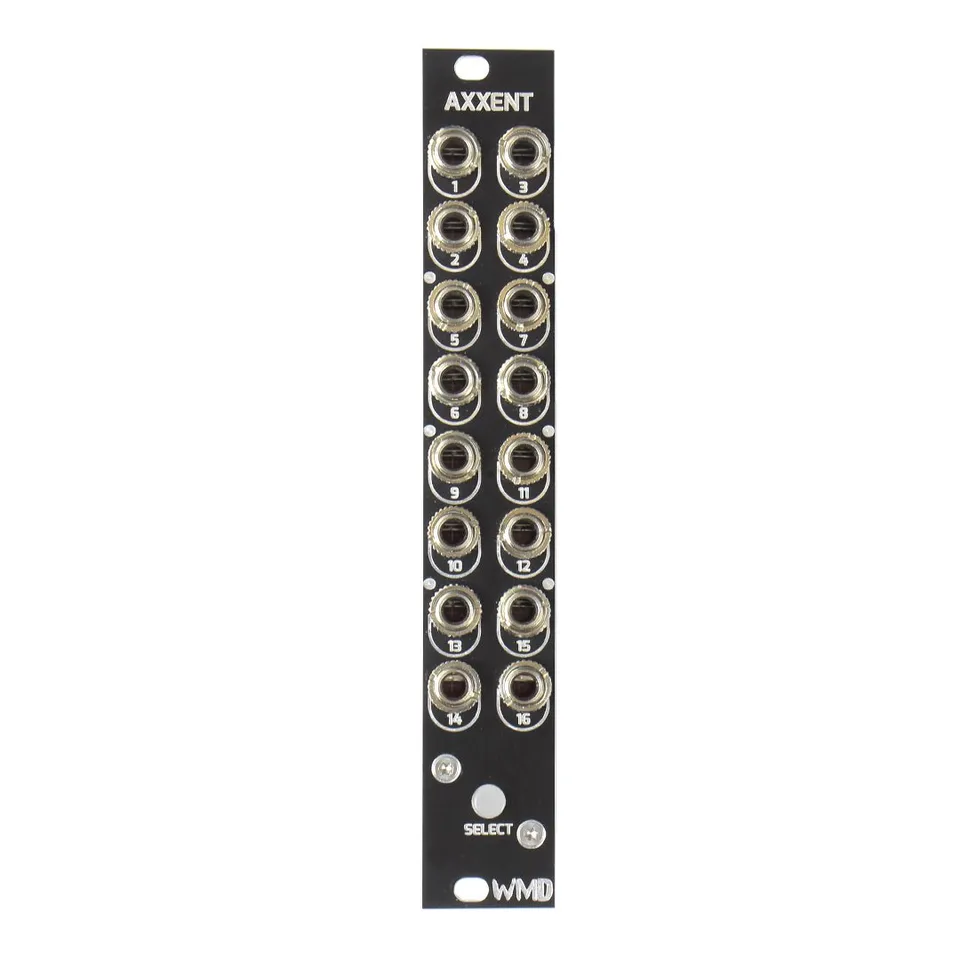
2Front Panel Overview
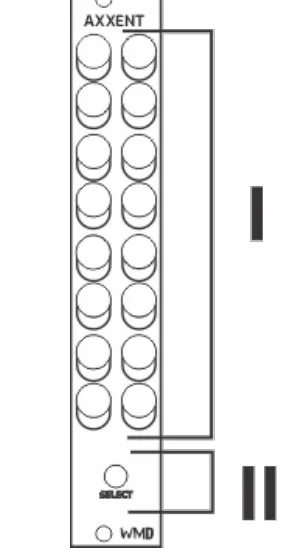
- Outputs: 16x 10V Gate outputs.
- Select Button: Backlit momentary push button.
3Rear Connections

- EXP: 2x proprietary bus connections for integrating Axxent into the Metron ecosystem.
- Power: 10 pin power connector. Compatible with Voltera 4Pack cable.
4Connecting Expanders and Metron
The EXP headers on the back of Metron and its expansion modules make it extremely simple to set up. Connect one 8-pin ribbon cable, supplied with an expander, to either of the two EXP headers on Metron, or another expander. Be sure to orient the red stripe toward the white dot printed next to the “EXP” label. Connect additional expanders either to each other or to the second EXP header on Metron. Finally, place the EXP TERM covers on open headers. Indicators must be facing the same direction (down) on the covers and PCB. It is generally best practice to string or chain Metron and expansion units one by one, and place EXP TERM covers at either end of the string.
If a visual explanation would be more helpful, check out the Axxent video on our YouTube channel.
5Method of Operation
The gate signal at an Axxent output goes high when the playhead of the associated track reaches a step that contains an “accent on” message. The same gate will go low when the playhead reaches a step without an “accent on” message. Only one Axxent unit is compatible with a Metron.
6Setting an Accent on a Step
Set an accent on a step by holding a Metron [MATRIX] button and then pressing Axxent's [SELECT BUTTON]. Pressing Axxent's [SELECT BUTTON] first will display “accent on” messages. They can be enabled or disabled from this view. Find more information in the Metron manual.
![A Metron and Axxent panel side by side with a callout reading “Hold the [MATRIX] and press [SELECT BUTTON] to set an accent,” an arrow pointing from the callout to Axxent's SELECT button.](/_astro/axxent-setting-an-accent.B3F1Ni8f_Z2itI13.webp?dpl=dpl_Atyjt9LXJae5y51WeyiNMhx3oHri)
7Functions That Interact With Axxent's Step Data
Axxent's data is technically Metron's track data. It is just played back through the Axxent expander. As a result, the following Metron track actions will also modify or affect Axxent data:
CLEAR
DUPLICATE
NUDGE
SPECIAL FUNCTIONS: PL.DUP, CONTRACT, EXPAND
MUTE
FX FILL: LOOP
8Specifications
Dimensions:
- Width: 4HP (20mm)
- Height: Eurorack 3U (128.5mm Panel, 112mm PCB behind panel)
- Depth Including Cables: 43mm
Power:
- 10 pin Eurorack standard power cable
- Reverse Polarity Protected
- Do not connect power to expansion headers.
- Typical Power Consumption: +12V: 40mA, -12V: 0mA
Outputs:
- Channel Outputs 1-16: 470 ohm Impedance, 0V or 10V Logic High
- Channels are simultaneously updated.
Regulatory:
- RoHS, CE, & WEEE Compliant
- Made with Lead Free solder and processes.
- No animals were harmed in the making of Axxent.
9More Features in the Metron Manual
There's more! Visit the Metron product page and download the updated Metron manual to find out about even more new features Axxent offers.